Wooden Craft for Bird House is a fulfilling project that not only allows you to be creative but also helps provide shelter for local birds. Whether you are a seasoned crafter or a beginner, making a birdhouse can be both fun and rewarding. In this guide, we’ll take you through the process of crafting a simple wooden birdhouse that will attract birds to your yard.
Gathering Materials and Tools
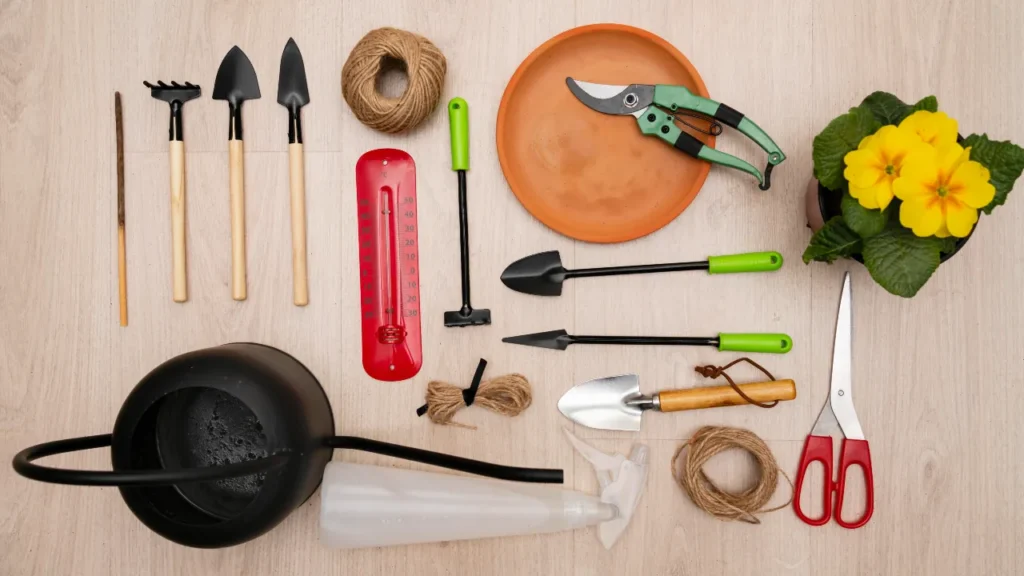
The first step in creating your birdhouse is gathering the necessary materials and tools. You’ll need wooden planks—cedar, pine, or another weather-resistant wood is ideal for outdoor use. Ensure the planks are not treated with harmful chemicals that could be harmful to birds. The basic tools required include a saw (for cutting the wood), a drill with bits for screws and the entry hole, screws or nails, wood glue, sandpaper, and a measuring tape. You may also opt for some paint to decorate the birdhouse once it’s completed. Always wear safety goggles and gloves for protection while working with tools.
Designing and Cutting the Wood
Before starting construction, it’s essential to have a plan in mind for the birdhouse. Typically, a birdhouse for smaller species like chickadees or wrens should be about 10 inches tall, 6 inches wide, and 6 inches deep. The front and back panels should each be 10 inches by 6 inches, while the side panels will be cut slightly at an angle for the roof slant. Cut the floor panel to 6 inches by 6 inches, and for the roof, cut two pieces that are about 7 inches wide. Once you’ve marked your measurements on the wooden planks, use the saw to carefully cut each piece. Remember that precise cuts will ensure your birdhouse fits together neatly and securely.
Assembling the Birdhouse
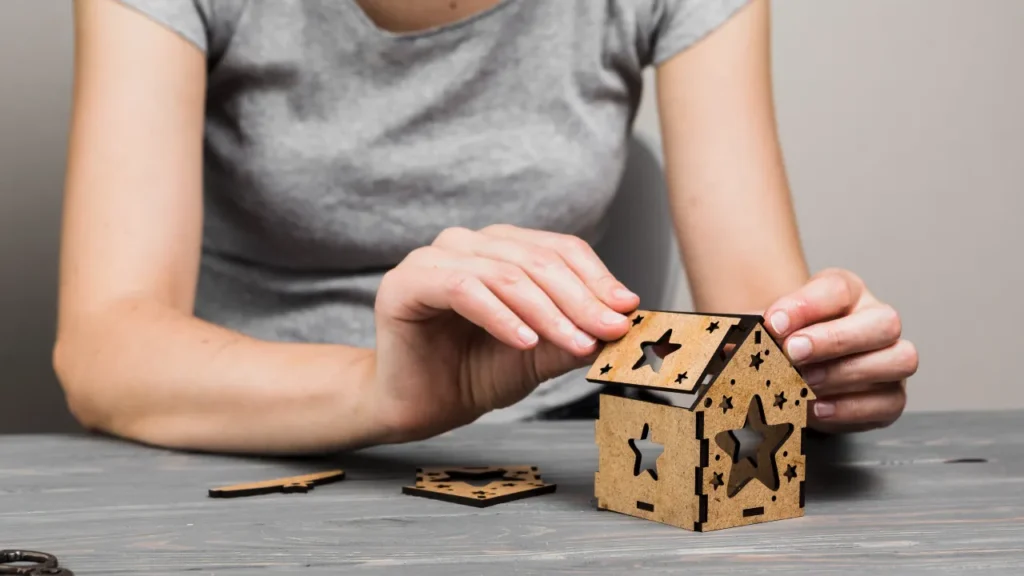
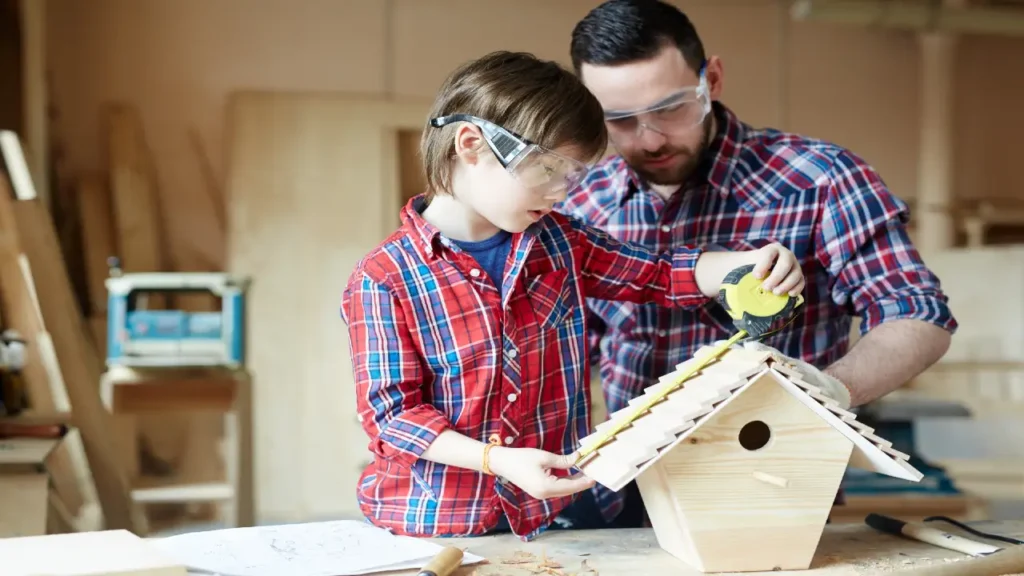
After all the pieces are cut, it’s time to assemble the birdhouse. Start by attaching the side panels to the back panel using wood glue and screws. This will create the basic structure. Next, attach the front panel, leaving a small gap at the bottom for the floor. The floor panel can now be inserted into place, and it should be screwed in to hold it securely. Make sure the floor has a slight gap or drainage holes to prevent water buildup. The final step in the assembly is attaching the roof, which should overlap slightly to protect the entrance from rain. Use screws to secure the roof panels in place.
Finishing Touches and Mounting
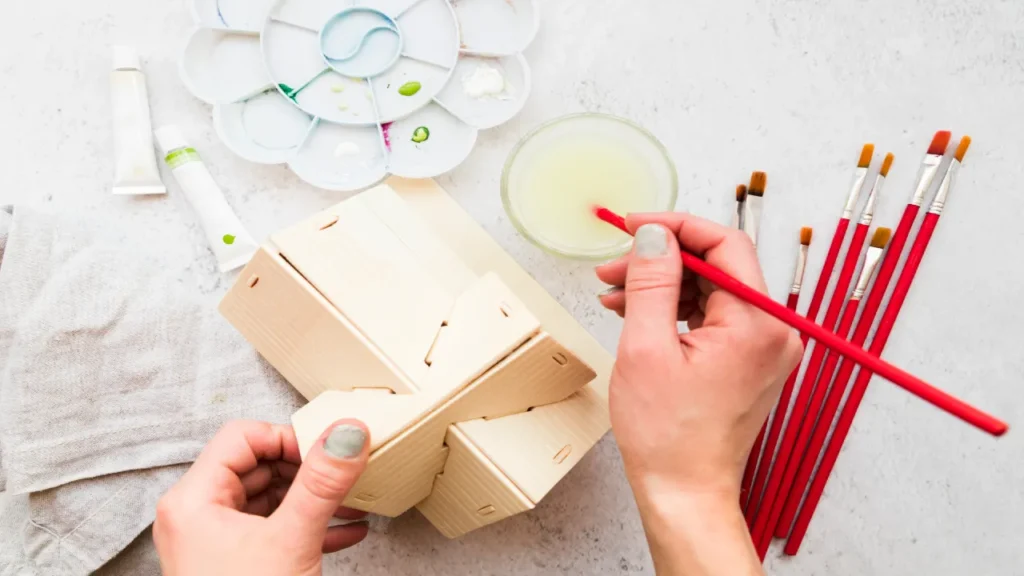
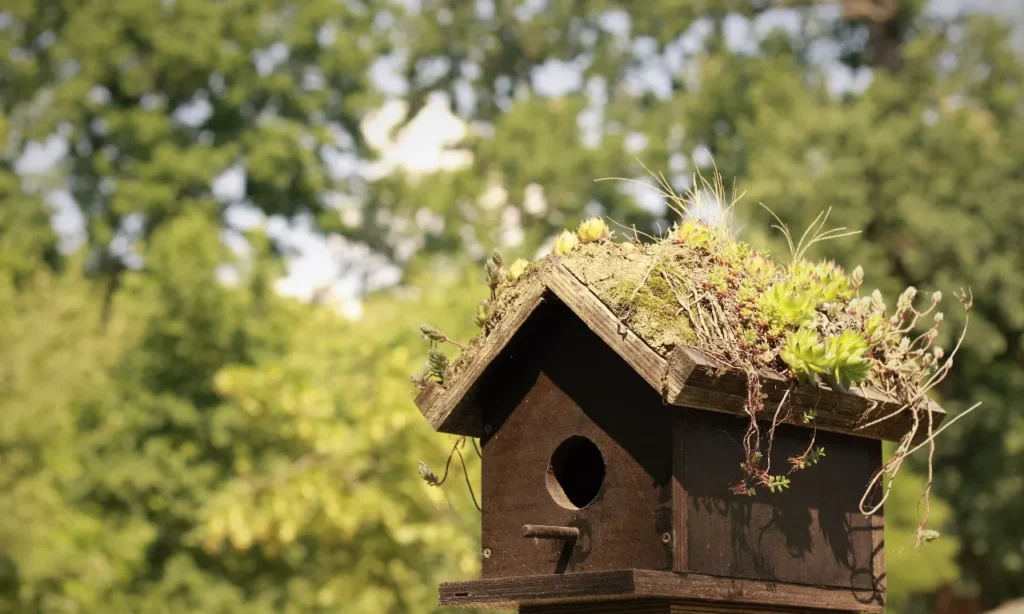
Once your birdhouse is assembled, it’s time to add some finishing touches. Drill a 1.5-inch diameter hole in the front panel for the birds to enter. The hole should be positioned about 2-3 inches from the top of the panel. After drilling, use sandpaper to smooth out any rough edges or surfaces, ensuring there are no splinters. If you wish, you can paint the birdhouse using non-toxic, weatherproof paint, or you can leave it natural. Once everything is dry, it’s time to mount your birdhouse. Place it at least 5 feet off the ground in a sheltered spot, preferably facing away from prevailing winds. Mounting the birdhouse on a tree, post, or wall will give the birds a safe and comfortable home.
Conclusion
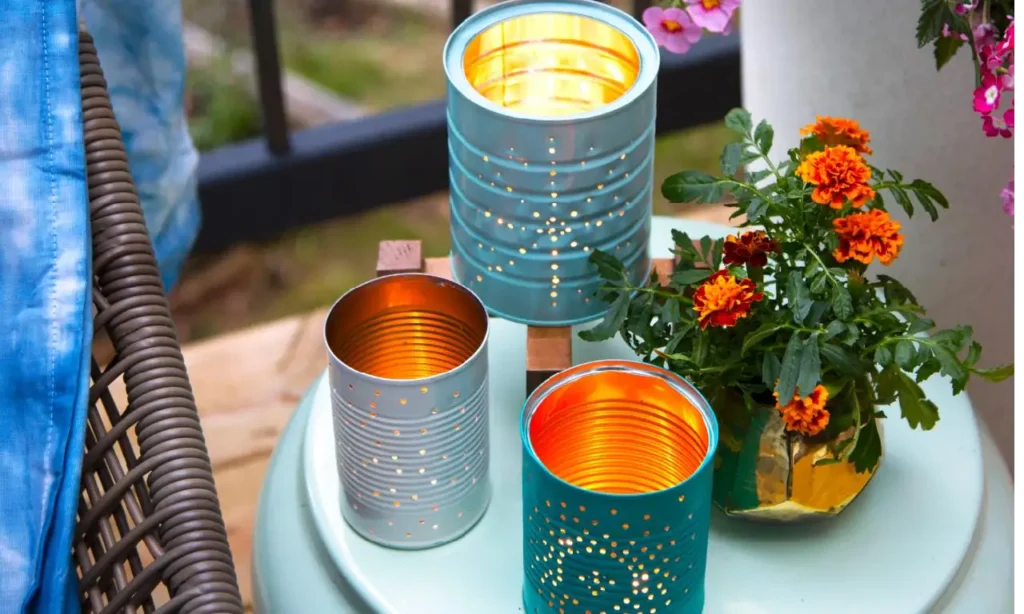
Building a wooden birdhouse is an easy and enjoyable way to support wildlife while adding a charming touch to your garden. By following these simple steps, you can create a cozy home for birds and enjoy watching them take up residence. Whether you choose to decorate it or leave it natural, a wooden birdhouse will become a wonderful addition to your outdoor space.
If you wish to explore more creative ideas and DIY projects, visit our website for detailed guides and inspiration!